Air Bleed Basics
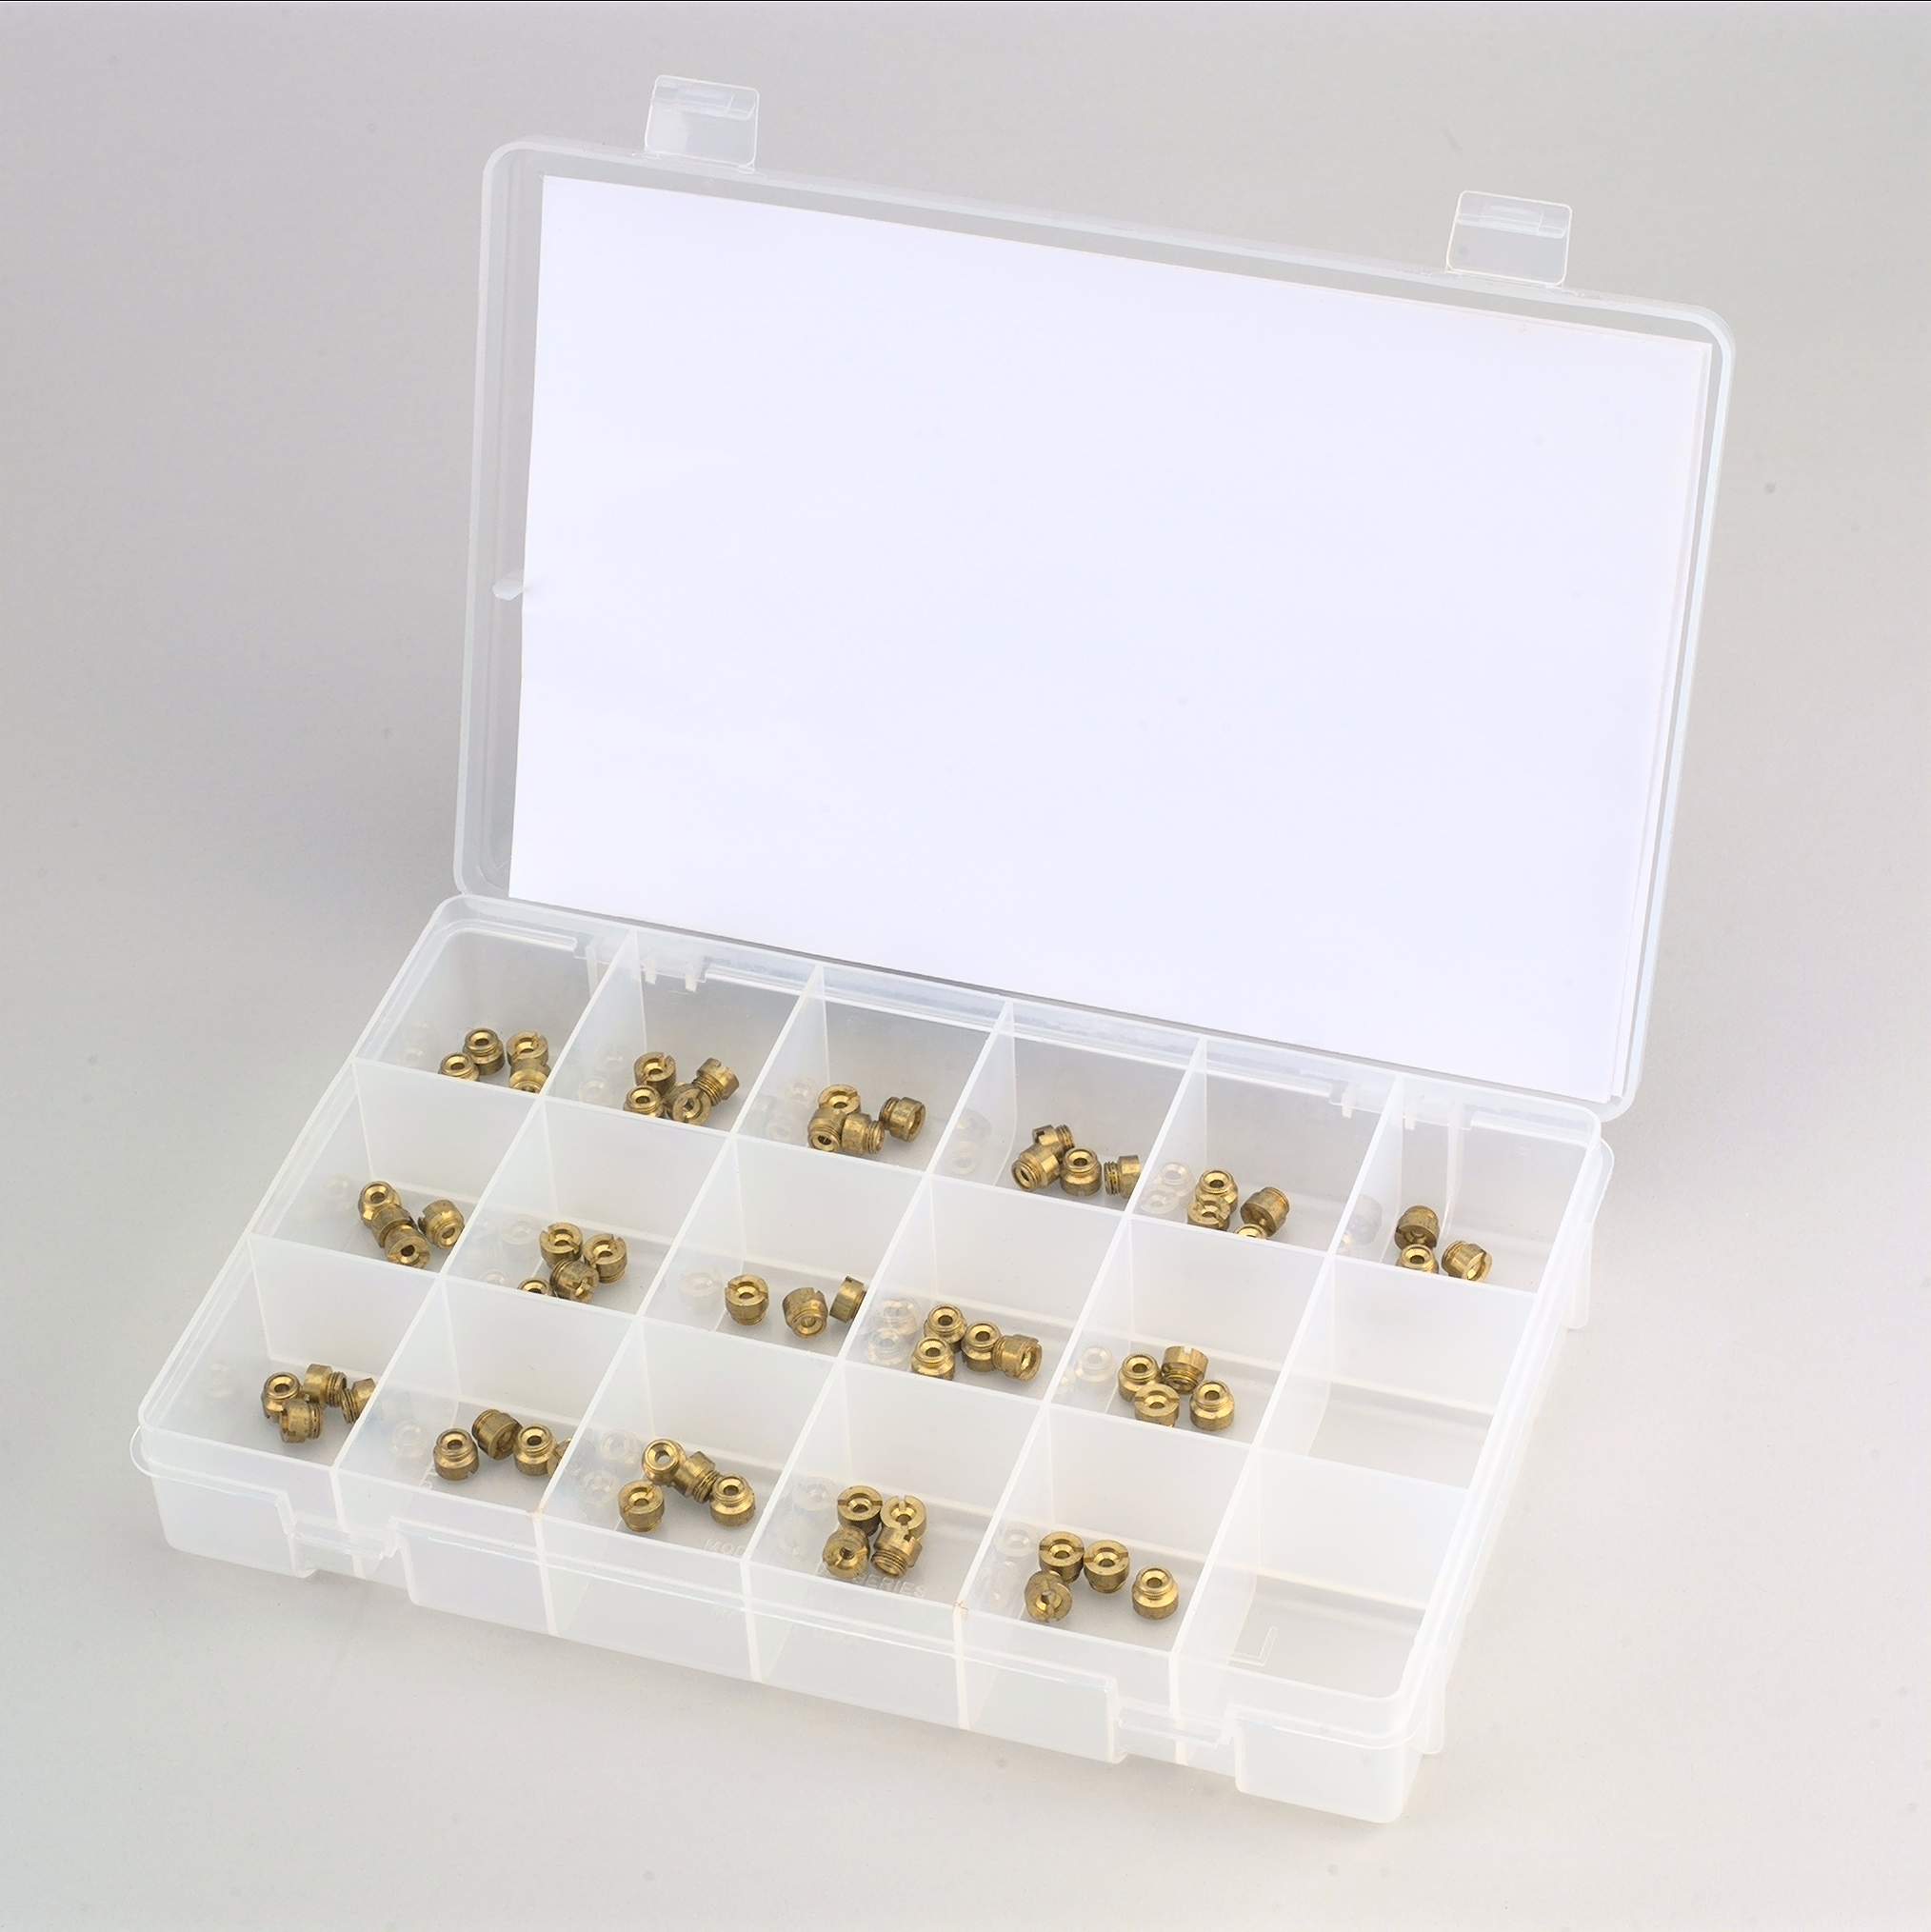
You've heard of them, but what do they do? Air bleeds, sometimes referred to as "air jets" or "air bleeders" play a vital role in the operation of your carburetor. Air bleeds are responsible for determining the amount of air that will mix with each circuit in the metering block. Virtually every carburetor you come across will have these which make this a universal discussion. The amount of air bleeds a carburetor will have is dependent on the number of throttle bores and circuits the carburetor has. In the context of racing carburetors, it helps to think of them as (4) one barrels. Most racing carburetors will have either 8 or 12 air bleeds depending on whether they are 2 or 3 circuit. Each barrel will have one bleed per circuit.
Idle Air Bleed: The idle air bleed could be the hardest working one of them all. Air to be mixed with idle fuel is provided by the idle air bleed. The idle mixture screws rely on air provided by this bleed. Often racers have complained of poor idle quality and no response to adjustment of their mixture screws, this is due an incorrect idle bleed. Many idle issues can be addressed by simply adding or taking away air.
Intermediate Bleed: The intermediate bleed is found on 3 circuit carburetors ONLY. The intermediate bleed provides air for the 3rd circuit. The intermediate circuit is only adjustable externally by the air bleed and to tune it otherwise would require you to take the fuel bowl and metering block off of the carburetor. On most large flange carburetors this would be the bleed found in the middle.
High Speed Bleed: The high speed air bleed or also referred to as the "main bleed" correlates to the main system. The high speed air bleed controls how much air is fed to the emulsion channels of the metering block. To explain further, the emulsion channels distribute that air further to different parts of the main well where it mixes with fuel and ultimately goes to the booster. The high speed air bleed is generally located closest to the squirter when looking at most race carburetors.
Now that we know what each air bleed does, how do we tune them? Tuning with air bleeds is often easier than anything else on a carburetor. Most modern race-style carburetors have screw-in air bleeds that can be exchanged externally with a simple hand tool. Gone are the days of pin drills and dial calipers. Air bleeds often resemble a main jet only slightly smaller. Tuning is simple in that you just need to remember the size of the hole determines how much air is coming into the carburetor. If you want to richen up the idle simply replace your idle air bleed with a smaller one (less air in the system = more fuel = richer idle), this will help you get your mixtures screws within the 1-2 turn range. What if you want to lean out the intermediate so you can get your car to come off of the transbrake a little cleaner? Increasing the size of the intermediate bleed will lean out that circuit. Just remember that too much of a good thing can get you into trouble - before fine tuning a carburetor you should take note of the stock specs so you can always come back to where you started.


 pb.jpg)


Q: I can’t get the “Bog” out of my mechanical secondary carburetor what’s wrong and how can I fix it?
A: The sole purpose of the accelerator pump system is to provide a combustible air/fuel ratio during hard acceleration, especially from idle, for the time it takes the main metering system, via the booster venturi, to respond to the increase in air velocity. When you mash the throttle opening the throttle plates, air responds instantaneously to the pressure drop (vacuum) generated by the engine through the intake manifold. Fuel on the other hand is too heavy and cannot respond as the air does. Assisting the engine during this transition carburetor engineers developed a hydraulic fuel delivery system to push fuel into the slug of incoming air to make a combustible mixture.
The accelerator pump system is simply a mechanical fuel injector that provides enough fuel for a brief period of time for the engine to respond smoothly to the heavy wide open throttle demand. Its purpose is oh so simple and its function is oh so critical. And, when it isn’t working right, the dreaded “Bog” and the always dreaded backfire through the carburetor are effects of an accelerator pump system that isn’t equal to the task. The “Bog” simply means the engine is not receiving enough fuel when you go to wide open throttle. While there are other issues that may cause similar reactions within the carburetor, often the problem can be traced back to the accelerator pump system.
Incorrect adjustment is the typical culprit. The accelerator pump function, as mentioned, is based on hydraulic principles. Therefore, it is essential that the accelerator pump always has tension at your normal idle position. Any air gap here will delay the actuation of the accelerator pump system allowing air to rush into the engine without fuel.
The common misconception is that it is necessary to adjust the pump arm to obtain an air gap. This is correct; however that air gap is only at Wide Open Throttle (W.O.T.) not at idle. The air gap is simply to ensure additional travel in the pump arm so it does not bottom out on the fuel bowl. If it does bottom out eventually it could loosen the accelerator pump housing causing a fuel leak. Fuel leaks are something we all want to avoid.
Assuming the first adjustment is correct. Then the next step in the process is to add more fuel to the incoming air which is accomplished by increasing the size of the pump discharge nozzle or squirter. This will quite often correct the “Bog” or hesitation by richening the air/fuel mixture when the pump system is activated. If the carburetor works well everywhere else on the track then a bigger squirter might be the only change necessary.
Pump squirters are available in a wide range of sizes, the bigger the number (size) the more fuel when you accelerate. Simply remove the pump nozzle screw, lift off the old nozzle and install the new. Be sure both gaskets above and below the nozzle are replaced. If the gaskets are a different thickness the thicker goes under the nozzle and thinner one on top.
Q: How do I know if I need a bigger pump, i.e. a 50cc versus a 30cc?
A: A larger capacity accelerator pump achieves one thing, it extends the duration of the pump shot. A larger accelerator pump is usually required when the carburetor, intake manifold and/or cylinder head is too large for the engine and the resulting weaker signal at low engine RPMs requires more time for the booster venturi to pull fuel through the main jet. Generally, the telltale sign is good initial throttle response, but shortly thereafter the engine bogs down or flat lines and as the RPM climbs it recovers accelerating normally. That bog or flat spot is where the pump shot duration ran out and the booster venturi fuel flow alone is not enough to keep the engine running efficiently. In this case, the larger pump capacity helps the transition. While this is a more popular change among foot brake cars, the 50cc is also sometimes a necessity with large plenum 2 X 4 tunnel ram applications especially when racing on a .400 Pro Tree.
By the way for you curious types, the 30 and 50cc capacity is the volume of fuel displaced from the accelerator pump in 10 complete strokes of the pump arm. So the actual capacity is 1/10 that number or roughly 3 and 5cc respectively when opening the throttle from idle to wide open.
The larger capacity 50cc pump is easily recognizable by the large pump arm with the encapsulated spring. In addition, the 50cc pump also uses a larger pump cam either a brown color (conventional carbs) or a yellow color (model 4500).
A 50cc pump will not deliver the 50cc rated volume if any other cam is installed.
Q: In your previous explanation of the accelerator pump system one item you did not address is shimming the pump arm spring. Is this a good idea or not?
A: The pump arm spring (technically the pump over-ride spring) provides a cushion when the pump system is operated. Since liquid will not compress, it is impractical to have a straight mechanical lever between the throttle shaft unless it were constructed of a material that has some give. So, at wide open throttle the spring on the pump arm compresses and ultimately continues to push the operating arm on the pump housing for a continuous fuel discharge. You are correct in a couple of areas. First, some early high performance carburetors actually did use a shorter and thicker spring than today’s typical spring. Second, there are a number of people who install shims between the pump arm and the spring to in effect put more preload on the spring. The shims increase the overall length and to get back to the original installed height the spring must be compressed.
Does it work? The jury is still out on that and while we have not seen any definitive data to confirm it. We’ve been told this procedure can reduce or eliminate a bog or hesitation without resorting to a larger pump nozzle. We think this type of modification might work on applications that have a fairly large pump nozzle. We have had reports of this helping on applications using “Oxygenated” fuel. Something to think about for anybody using reformulated pump gas in their hot rod.
Q: When I make my vacuum secondary open mechanically even with the “bog” it still runs quicker and faster then just leaving it stock what’s the deal?
A: Vacuum secondary carburetors can be a mixed bag. On the one hand they are extremely forgiving and regulate the air flow through the carburetor based on engine demand. Unfortunately, it’s difficult to find the optimum balance over a broad RPM band. In a lot of Stock and Super Stock class cars that still require the original vacuum secondary carburetor they often make the secondaries open mechanically or have the secondary spring so light that the vacuum diaphragm “window shades” the secondary side. Bear in mind, in most cases these engines are under carbureted because all the internal modifications so this just compensates for a carburetor that is too small. In a lot of bracket and street/strip cars the carburetor is more appropriately sized or many are too big. In a condition where the car runs faster by forcing the secondaries open mechanically; our guess is the secondary diaphragm spring is too heavy and does not allow the secondaries to open completely. In some situations the engine simply does not produce enough air velocity through the primary venturi to open the secondaries all the way with a spring that does not produce a bog off the line. In those cases start looking for “upstream” restrictions in the vacuum passage. Older carburetors had a check ball in this passage and conventional wisdom was to simply take out the ball. That definitely enhances the signal and a stiffer spring might be needed. Newer carburetors often have a drilled restriction where the check ball formerly resided. Removing this restriction has basically the same effect as removing the check ball allowing for a more aggressive opening rate.
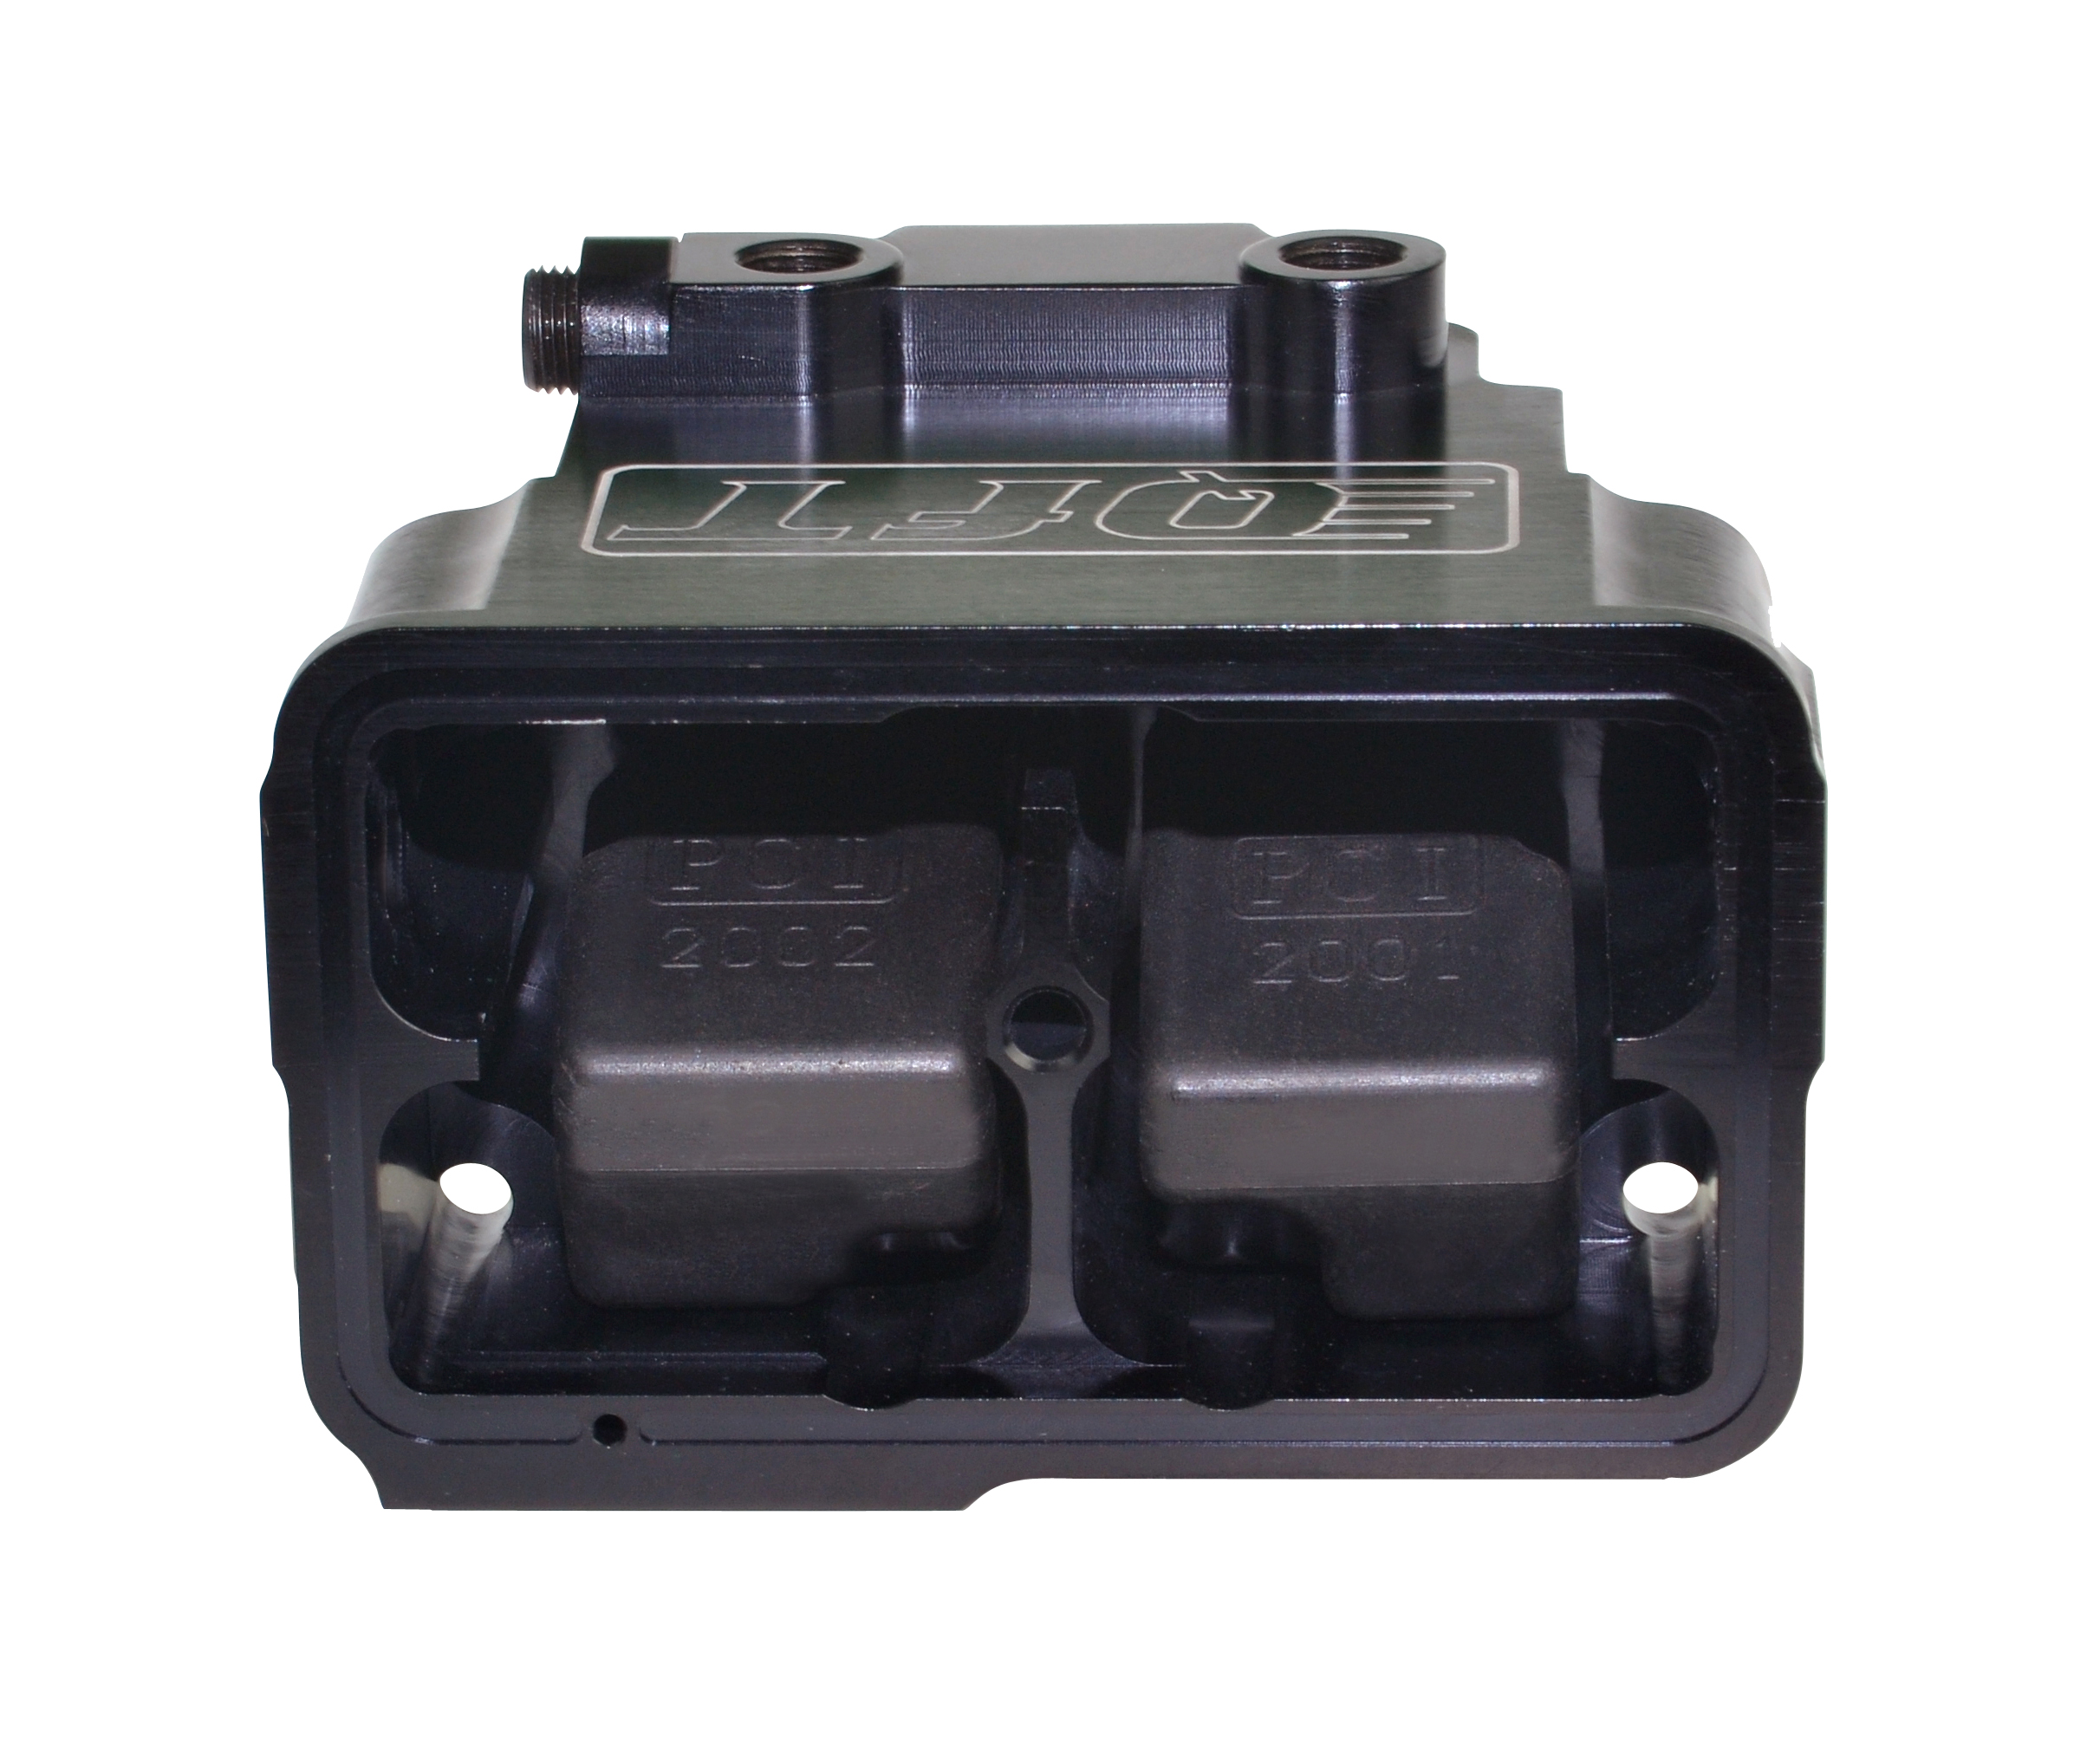
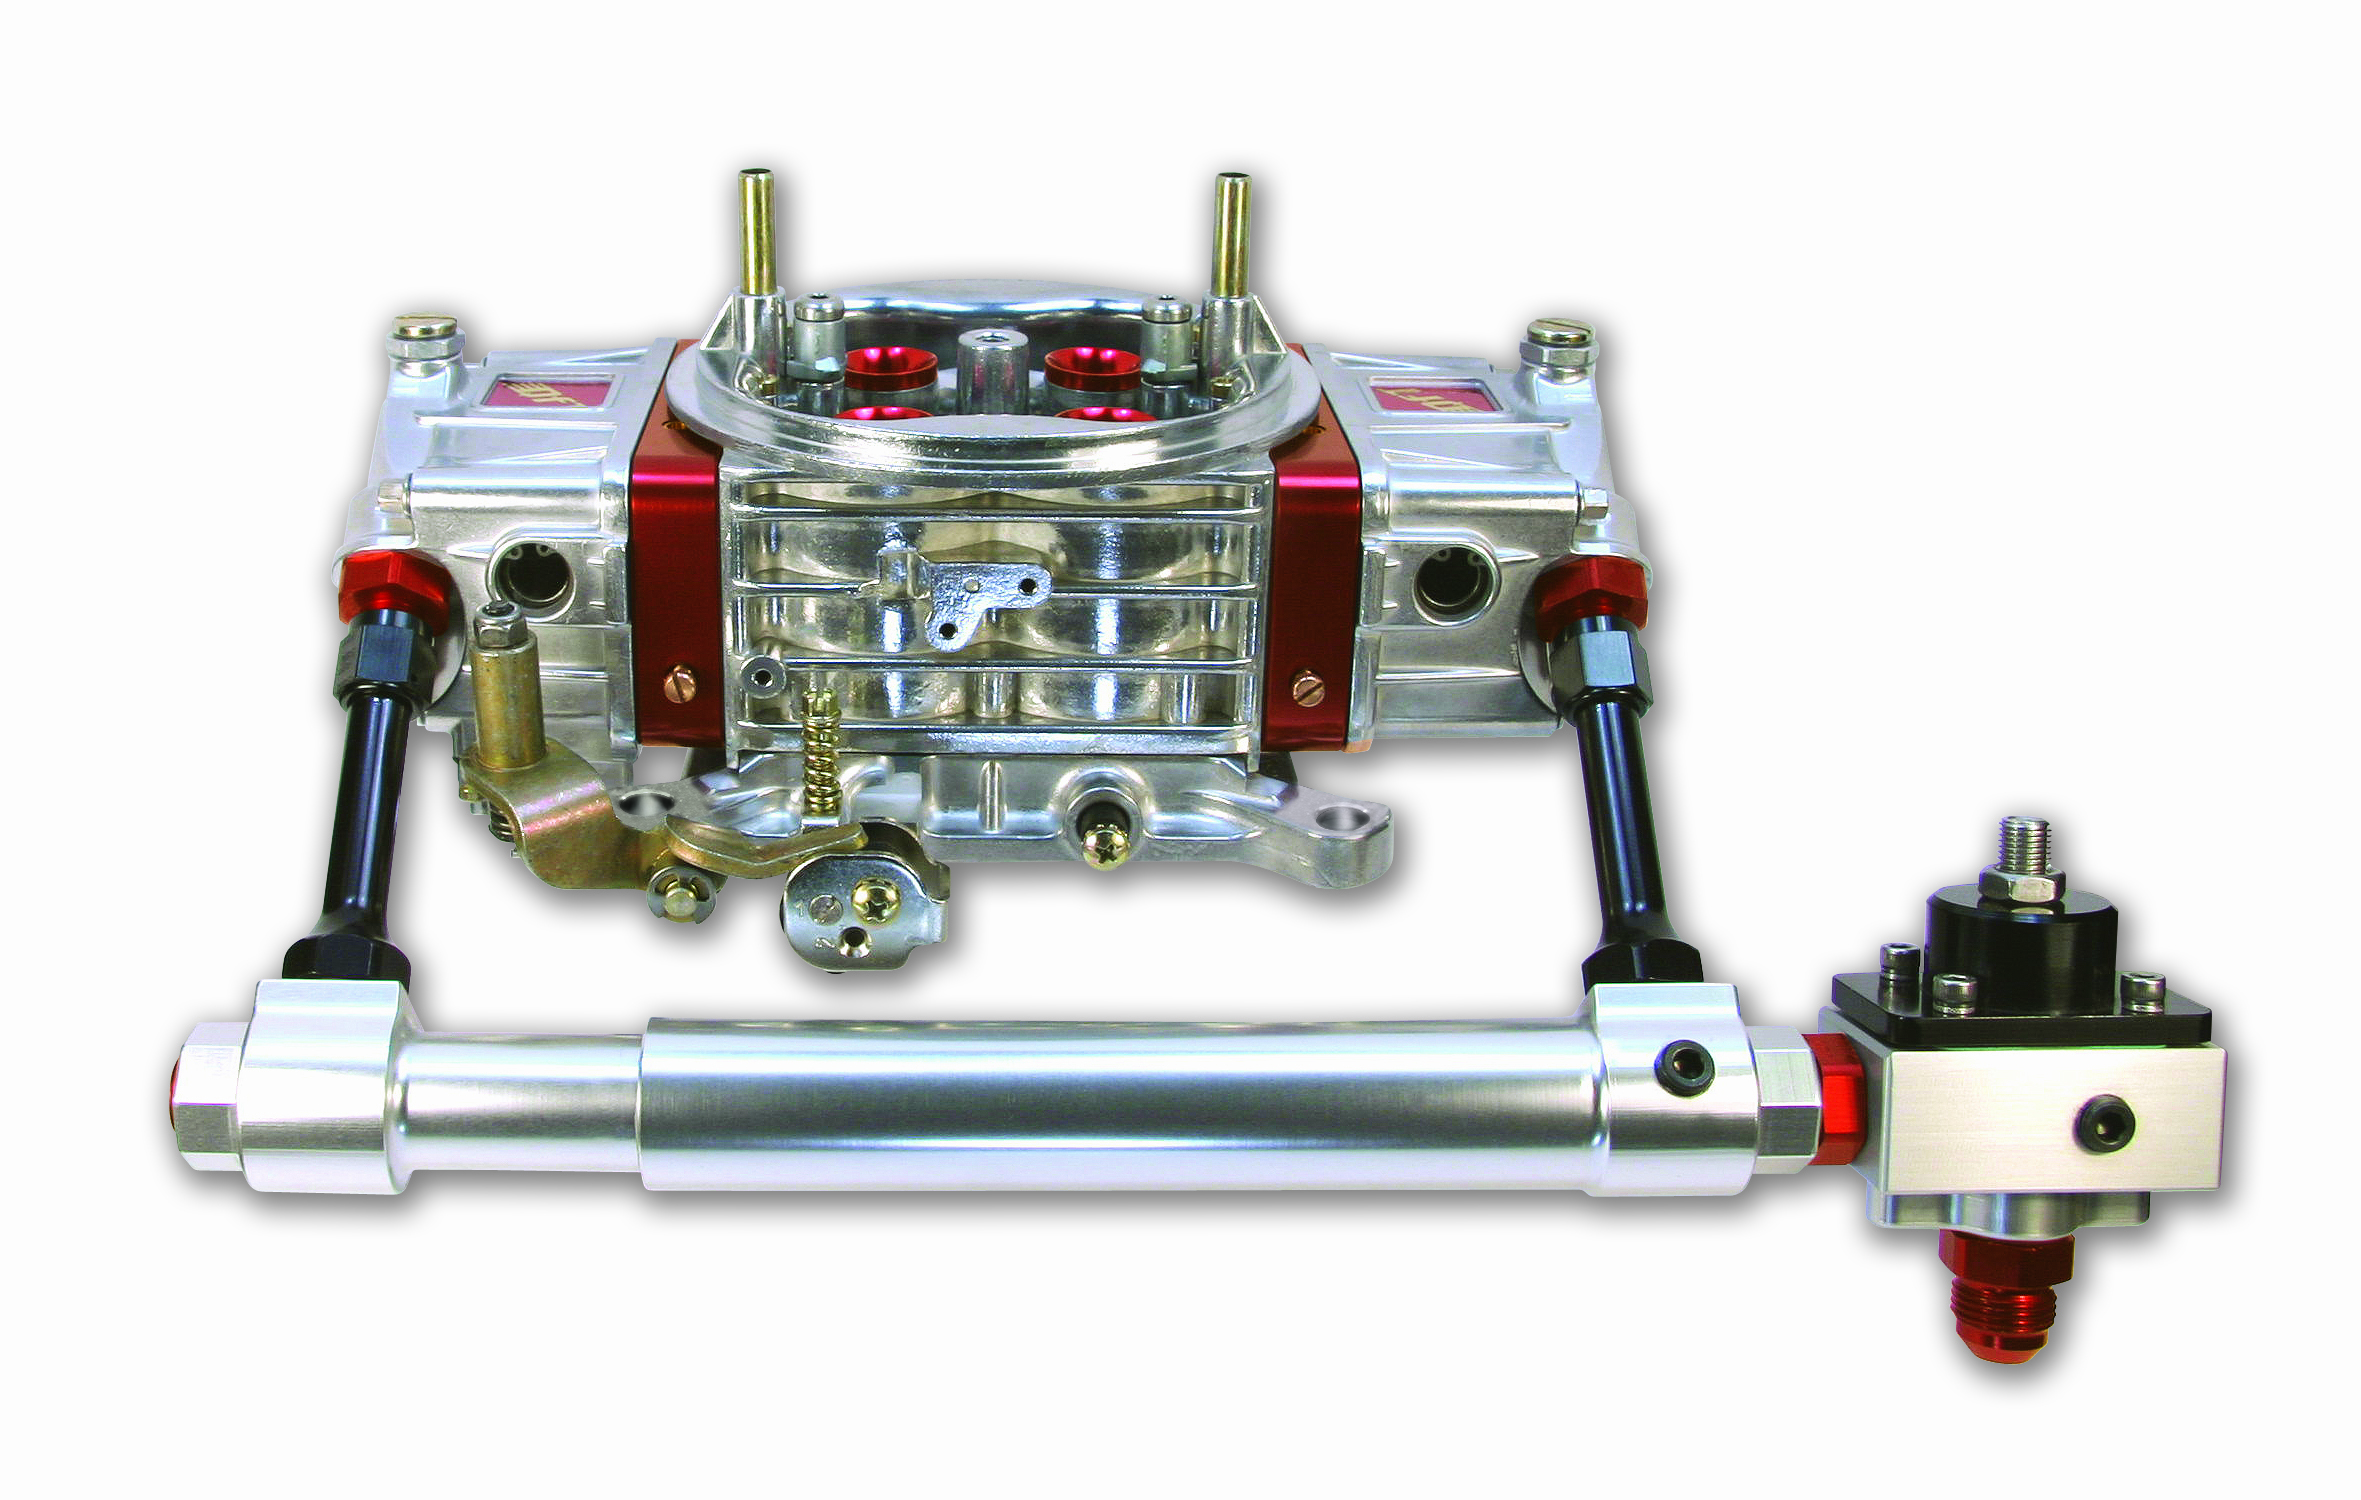
We attempted to solve some of these problems with our adjustable secondary housing.
We use a tapered screw to change the area of the restriction (making it larger or smaller) to tailor the restriction to the application rather than having to rely on a spring. The combination of changing springs and the additional adjustment feature makes the secondary operation almost infinitely adjustable. Changing the tapered screw’s position changes both the timing (when the secondaries begin opening) and the rate (how fast the secondaries open). This component may not be legal in some class racing associations (check the governing rules) but this certainly is a worthy investment for bracket racers.
Q: I hear a lot of theories about best jetting. How do I know what the best jet is for my combination?
A: The short and quick answer is whatever jetting produces the best MPH on your time slip. The long answer is a little more involved but the best MPH for given conditions (assuming a series of runs are being made the same day for testing purposes) is indicative of amount of fuel a given engine combination requires to produce the greatest horsepower (under the same weather conditions with no other changes). Disregarding the Elapsed Time for a moment, once the car gets settled down and accelerating to the finish line, variances in E.T. have very little effect on the MPH. Especially in the quarter mile, the mile per hour recorded has a direct correlation to the horsepower. Since we are jetting for best power, MPH is the point of reference we use. General recommendations are to go up or down, two jet sizes from your baseline runs. The baseline needs to consist of at least two runs. The safe approach initially is to increase the jet size. After changing jet size, record how each change affects the MPH. An increase indicates the engine needs more fuel, a decrease means the engine needs less fuel. Continue to go up or down until the MPH drops below peak, then simply return to that jetting combination that produced the best MPH.
Q: When are the best weather conditions to do this kind of testing?
A: Weather conditions, more specifically Density Altitude can have a tremendous effect on both your engine’s performance as well as how much fuel it needs. Our recommendation is do your testing in the conditions you most frequently race under. If you live in a climate that is very hot during the summer and the on-set of night does not change the corrected altitude then the best jetting under those conditions should keep your engine happy in weather you most frequently race in. This step may require a separate Spring/Fall and Summer tune up. These separate tunings will help make it easier to predict your car’s consistency and repeatability. Pro competitors and Competition Eliminator tuners jet to the weather conditions because they are trying to extract every ounce of horsepower they can for the next round of competition. This isn’t necessary for bracket racing of course but when the jetting is very close to optimum the car’s performance even with nominal changes in weather, should be easier to predict.
Q: My buddy and I each bought EGT (Exhaust Gas Temperature) sensors for our engines this past year. I’m little confused we have similar engines but my engine runs better with a lower temperature than his. What’s the deal?
A: EGT’s are a great tuning tool and reading the temperatures after every run can be invaluable for diagnosing problems when the readings deviate a great deal from your norm. Unfortunately, your “norm” might be different than your buddy. There can be some real variances because the exhaust temperature is rising or building heat as you are making your run. Setting aside differences in the engines, like camshaft profile, timing, compression, etc. one engine can be running richer than the other at low RPMs and therefore starts out the run at a lower temperature. Naturally that richer idle and off idle system is going to build heat faster than the leaner engine. Additionally, when you get out of throttle at the end of the run, the richer idle system will keep the exhaust gas temperatures cooler. If there is only a small variance between the two engines at the finish line, don’t worry about it too much because that is where the greatest load occurs. Look at where in the RPM band the differences occur and that might be a tip off your engine is running richer (therefore the lower exhaust temperature) and perhaps concentrate your tuning efforts in at area.
Q: All the questions to this point appear to relate to tuning for best performance. Do you have any carburetor recommendations for the throttle stop classes?
A: A couple of us here at QFT run the .90 classes and there are a couple of suggestions we can provide that might help your throttle stop racing. If your throttle stop is connected to the throttle linkage, the best and easiest change is to convert your throttle linkage over to 1 to 1. The progressive linkage works great under normal conditions. However, during the throttle stop operation this requires the engine to operate with the primary throttle plates partially open. With the throttle plates roughly in the same position during the throttle stop operation we feel there is a better balance between the primary and secondary side of the carburetor the instant the throttle goes back to wide open. In other words roughly the same amount of air flow and more importantly the same accelerator pump volume. Where we have asked people to make that change the report back is the car seems to be more consistent and predictable especially with weather changes.
Q: Any other tips for us throttle stop guys?
A: Right now there seems to be a big effort to increase MPH. It is easy to get into a trap during this pursuit forgetting some basics of a good engine package. One of the more distressing things we have observed is the use of larger carburetors in an effort to squeeze a little more MPH out of the car.
A bigger carburetor will ultimately produce more horsepower and therefore a bit more trap speed. Unfortunately, that can come at a price because the low and mid range power could be adversely effected. With a bigger carburetor it is generally necessary to add more fuel to get the engine to come up on the converter. This is usually achieved with larger pump nozzles and/or smaller high speed bleeds. You may also have to go to a larger jet than your carburetor originally specified. For a lot of reasons the shift point in these classes is now on time not RPM. When the throttle stop comes off the engine has to pull from where the converter flashes on up through the RPMs until the car crosses the finish line. A larger carburetor can create a problem if the converter flash point falls below the peak torque of the engine combination. The engine has to labor through that RPM window and may cause bigger swings in E.T. than expected with weather changes.
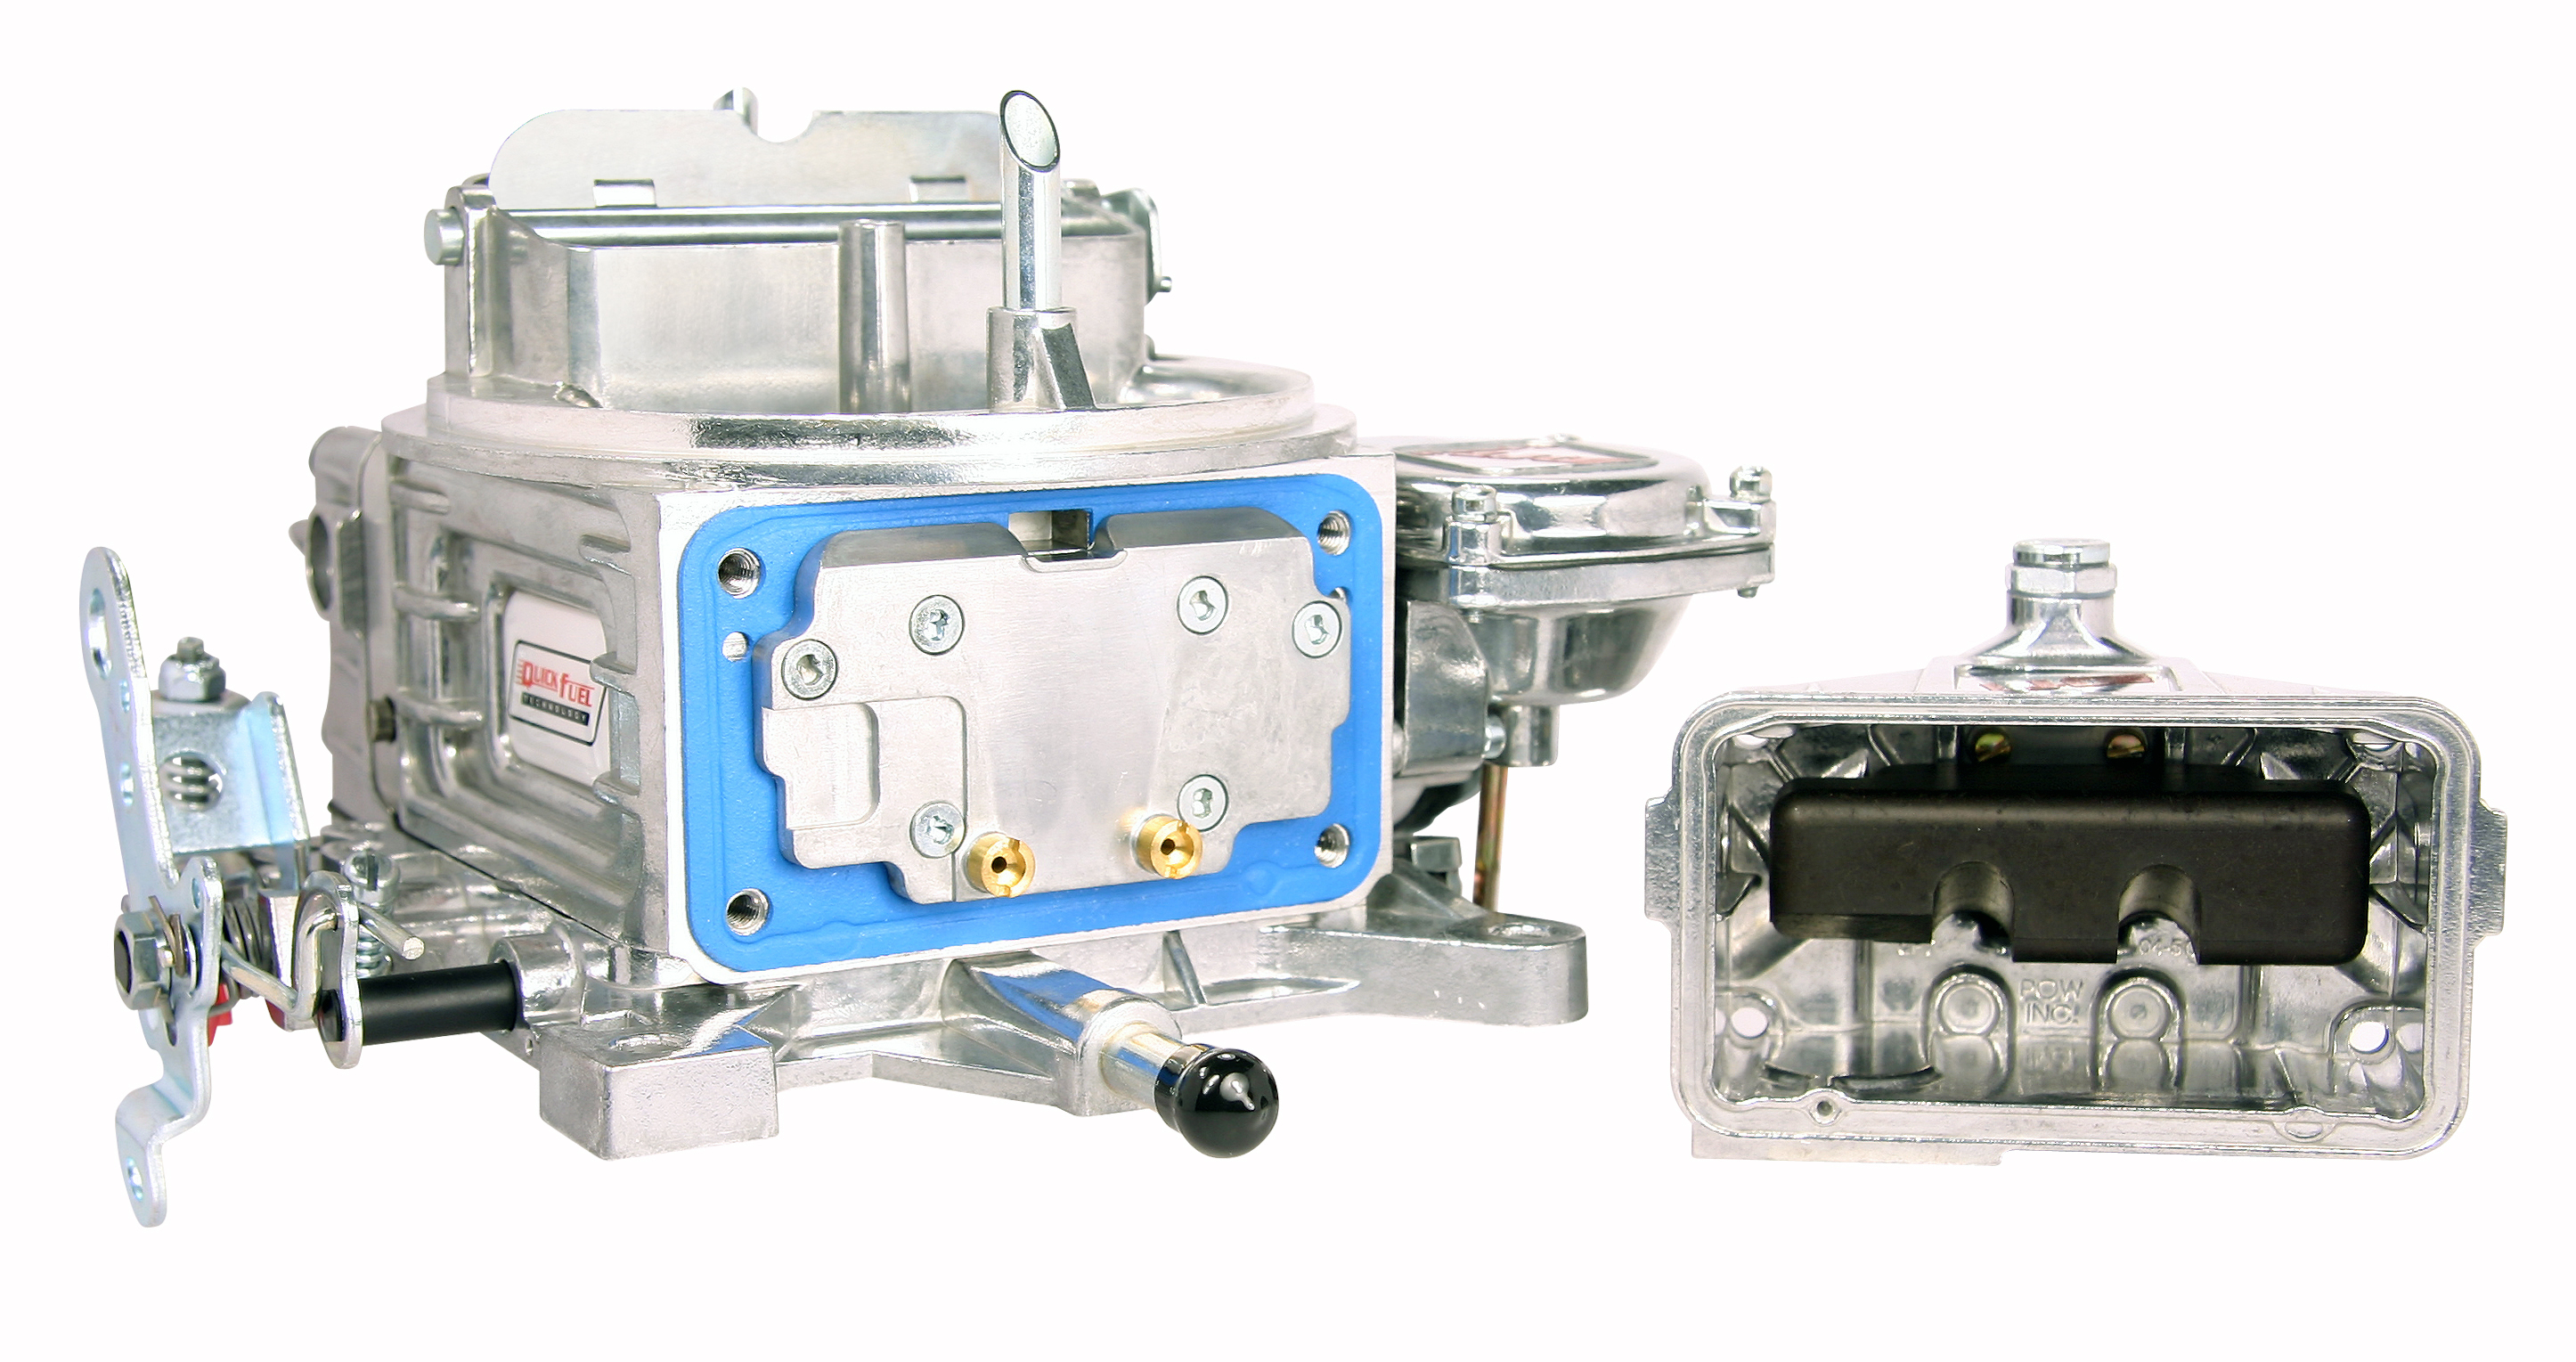
Q: I see the fuel bowls on your race carburetors have dual sight windows. Is there anything I'm missing here besides checking the fuel level?
A: Actually, we put dual sight glass windows in for two reasons. First, is so the fuel level can be checked from either side of the carburetor and secondly, it won't matter which way the carburetors are mounted on a 2 X 4 manifold the float level can still be seen. An added benefit we hadn't even anticipated was the ability to detect carburetors that are installed on angle. That doesn't sound too significant but it can make a real difference in the initial set up and ultimately how the car goes down the track. With a single sight plug you either have to set the float level dry or to the bottom edge of the sight plug opening. What that doesn't tell you is how high or low the liquid level might be on the opposite side of the bowl. We've had several customers tell us once they realize how far off their fuel levels were from side-to-side they realized they needed make some adjustments. With the dual sight glass there is a much we feel there is a better balance between the primary and secondary side of the carburetor when the throttle goes back to wide open better understanding of how the fuel sits in the bowl and can adjust it accordingly. Some have gone so far as to rework their manifold to achieve a more favorable orientation. In drag racing every little tweak helps.
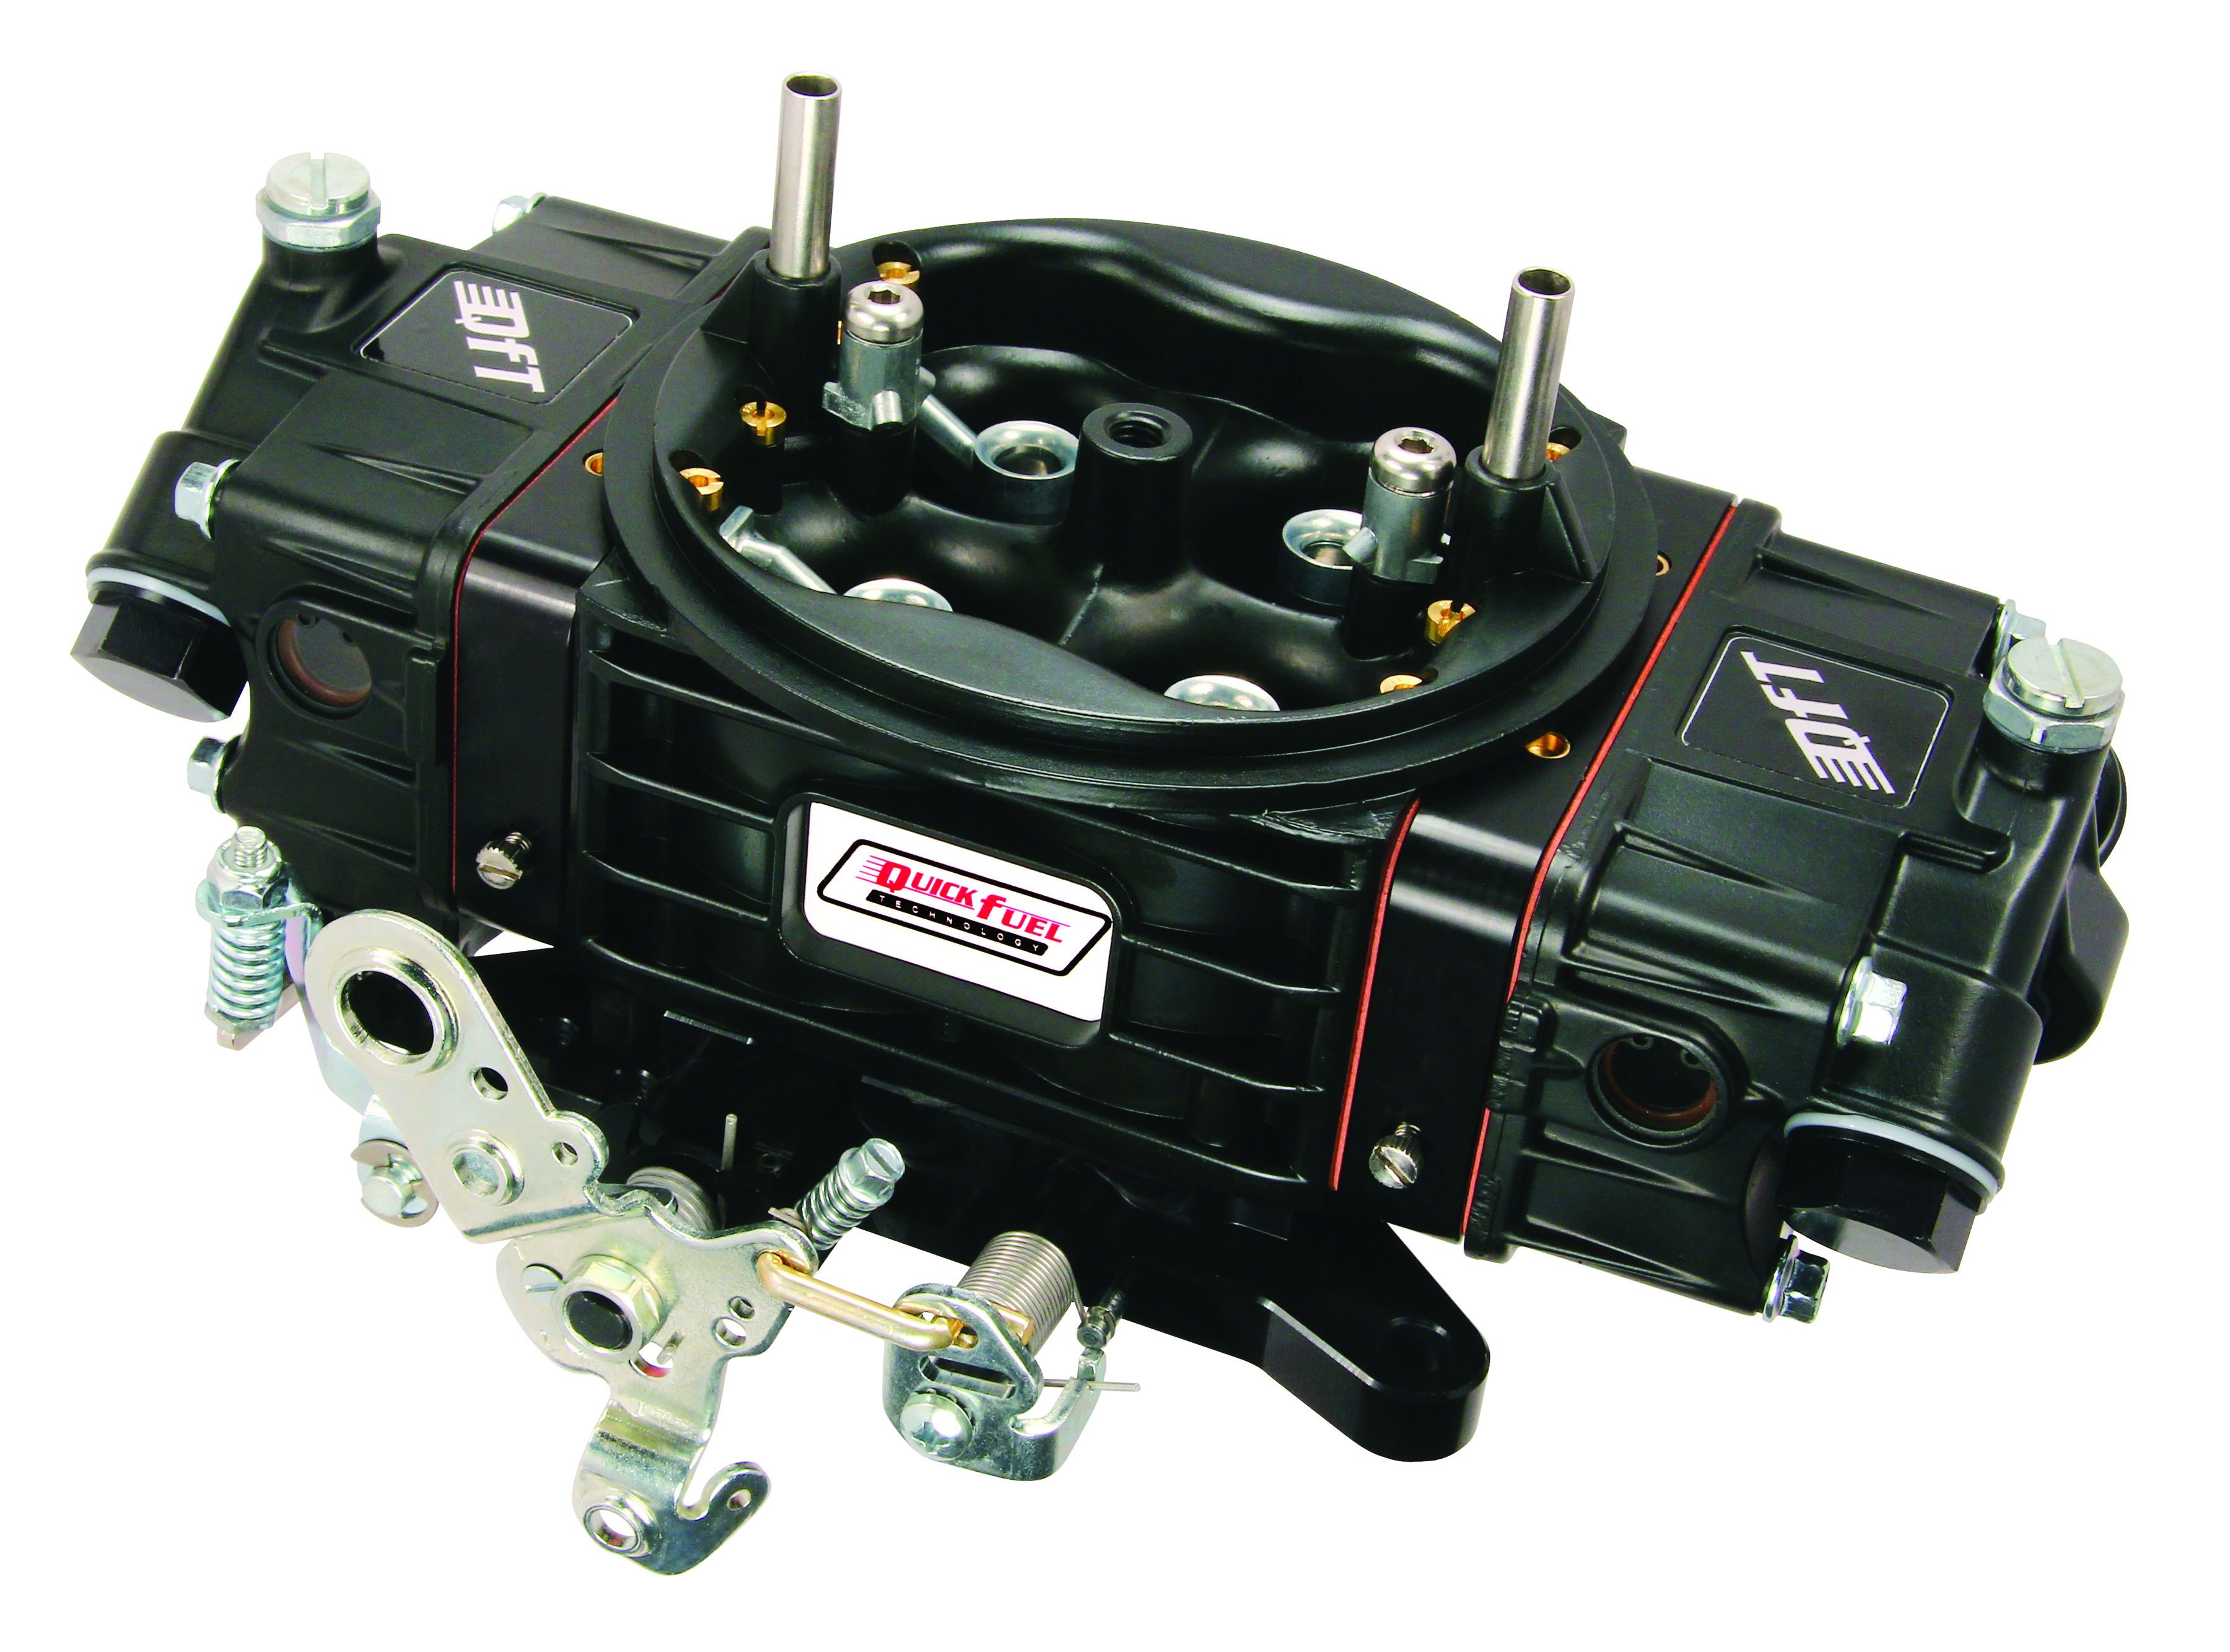
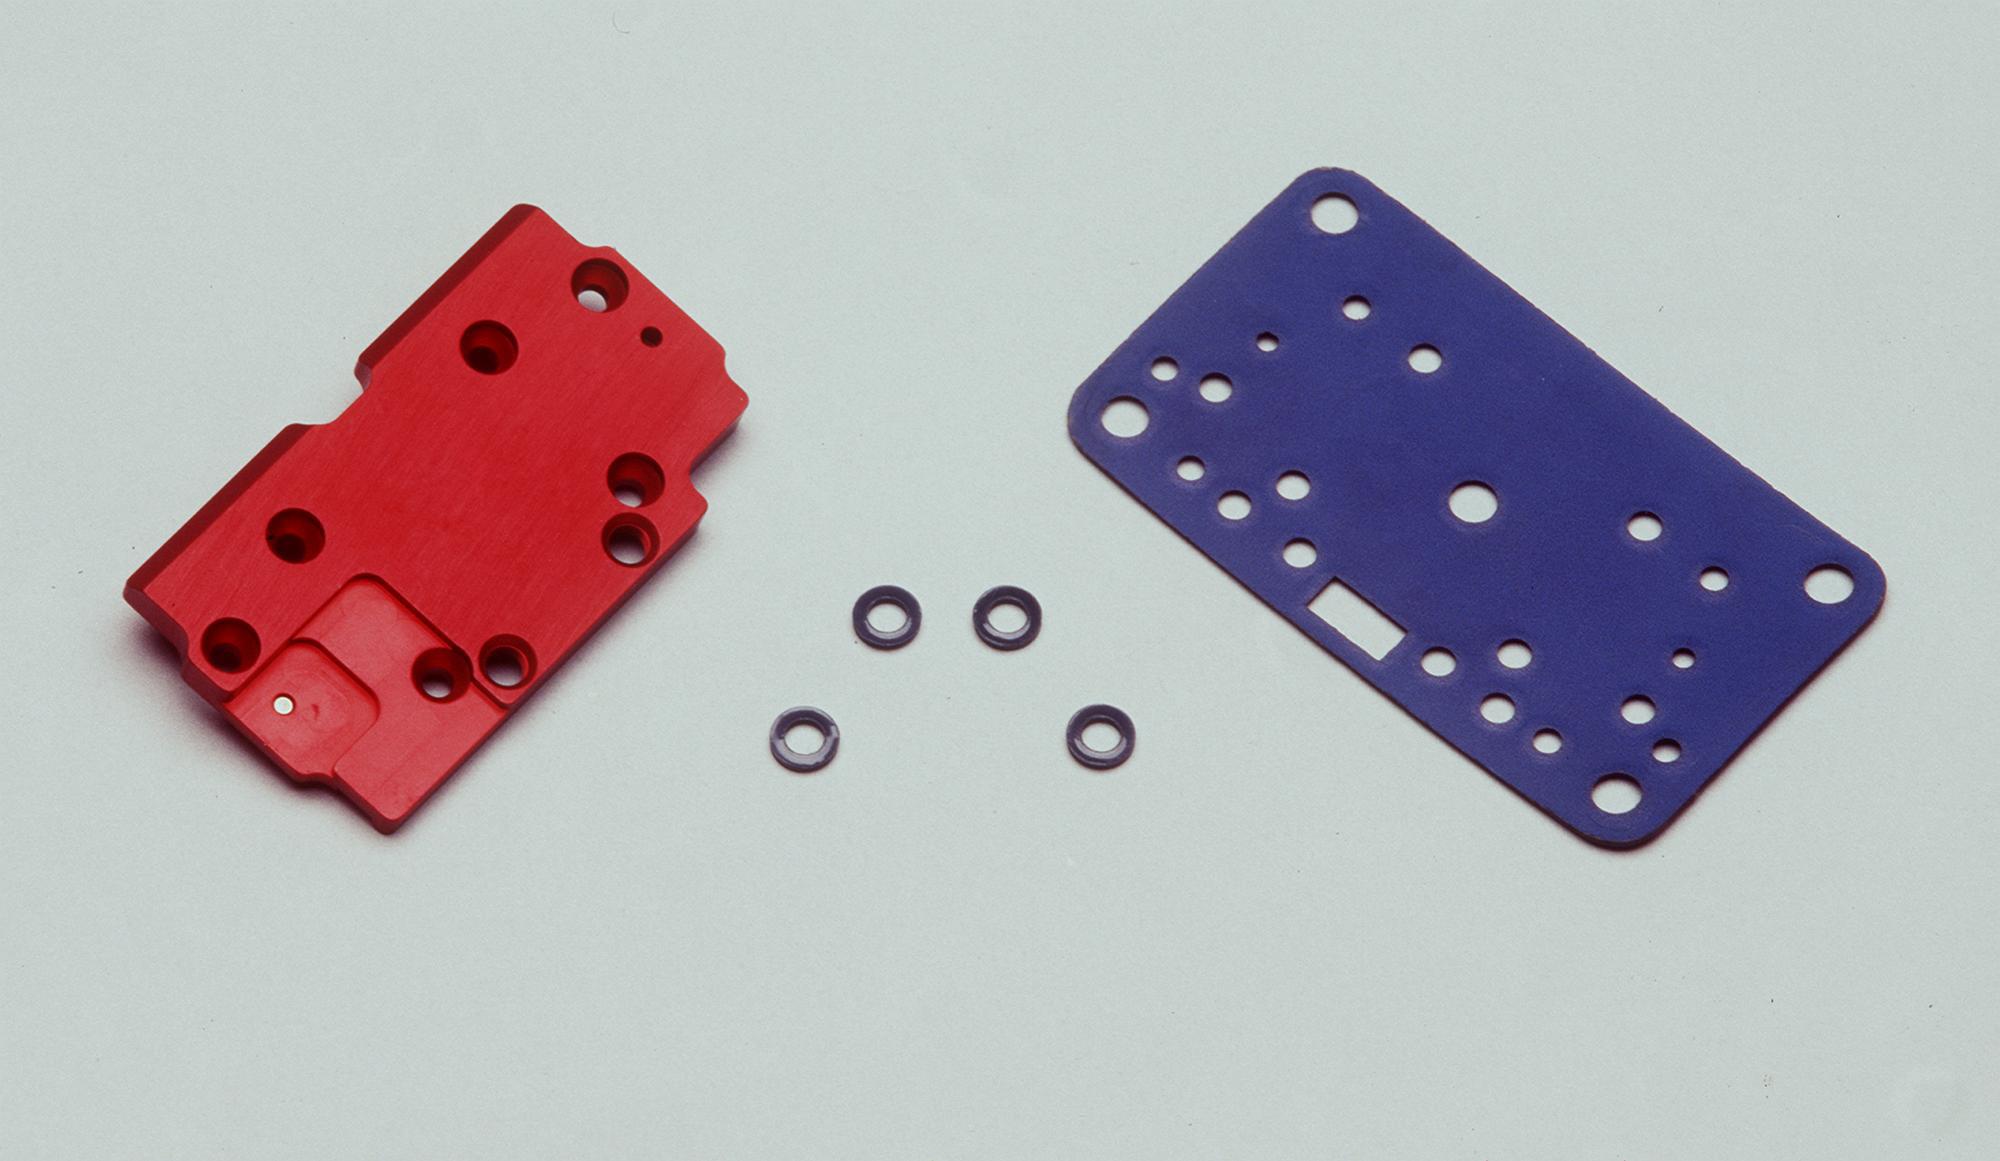
Billet metering blocks are a standby if you purchase a Quick Fuel Technology race carburetor - what does that really mean to you? The word billet means precision, quality, and maybe even good looks. To us precision is more important than beauty and that’s why our CNC machined blocks are your key to horsepower. Today’s modern race engines require an induction system that has a wide range of adjustment. Carburetors as they advance become nearly as adjustable as fuel injection and still win out on the peak dyno numbers in most cases. Factor the peak power increases with affordability and it’s a win-win situation. So what can you do to make the most of your carburetor? Settle in and read on....
Metering blocks are where the action is when talking carburetors. What your metering block is made from or how it’s made is of no consequence without a good knowledge base. Understanding how a metering block works will help you understand what your carburetor and race car ultimately want. In the case of a QFT carburetor (and many others out there), metering blocks take air from the air bleeds in the main body and mix it with fuel from the float bowl. The “push” that gets fuel through the metering block is provided by atmospheric pressure (remember our last class) and without it a carburetor will not function. Fine tuning your metering block is done with patience and a good base-line to refer to - we often talk to people over the phone that find themselves out in left field and need the base calibration of their carburetor.
So what is a baseline? Most of carburetors when purchased include a specification sheet that has some basic details of how your carburetor is calibrated. If the carburetor was built for your application is should be in the ball park and we would use this as a baseline tune-up. What if your carburetor was previously used or didn’t include a specification sheet? Simply take apart your carburetor and “pin” (measure) each orifice with a pin gauge and mark them accordingly in a notebook. It might help to draw illustrations and if pin gauges are not available we recommend using the backside of drill bits to get close.
With a base-line setting you can now experiment with orifice sizes and see what your car reacts to. A good rule of thumb to go by is any hole on the fuel bowl side of the metering block will take in fuel while ones on the main body side will deal with air. With the fuel bowl and metering block removed, look at the main body and see where the air bleed channels lead to; match these holes up with orifice openings on the metering block and then you can distinguish what circuit goes where. Opening up passages that flow air will lean out that circuit while replacing restrictions with smaller ones will richen the circuit. The fuel orifices are exactly opposite and will richen when they are enlarged (think of your main jet).
So now that you know what it takes to move things around we should talk about limits and how for to go. Usually when changing orifice sizes in a metering block we suggest going .002” - .003” at a time. Moving more than .003” at a time on any given orifice can potentially throw things off - especially if we are talking about leaning out a high RPM engine. Remember, take baby steps, document what is being changed and how the car reacts and above all, be patient.
This is a very broad topic and difficult to fit in the space of our column. Hopefully it points you in the right direction and when in doubt consult your local engine dyno shop or give us a call, we love talking carbs and want to see you get the most out of your car!